Installing Python on Windows with Python Manager and Visual Studio Code
Installing Python on Windows with Python Manager and Visual Studio Code
This walkthrough shows the full process for getting Python ready on a Windows computer. We will install Python from the official Python website, use Python Manager to install a Python runtime, install Visual Studio Code, create a small project folder, write a first script, and run it from the VS Code terminal.
By the end, the system should be able to:
- Install and manage Python versions with the
pycommand. - Open a Python project folder in Visual Studio Code.
- Write and run a basic
.pyfile. - Confirm Python is working from the terminal.
1. Download Python Manager from python.org
Start at the official Python website: python.org. From the Windows download area, choose the current Windows download option.
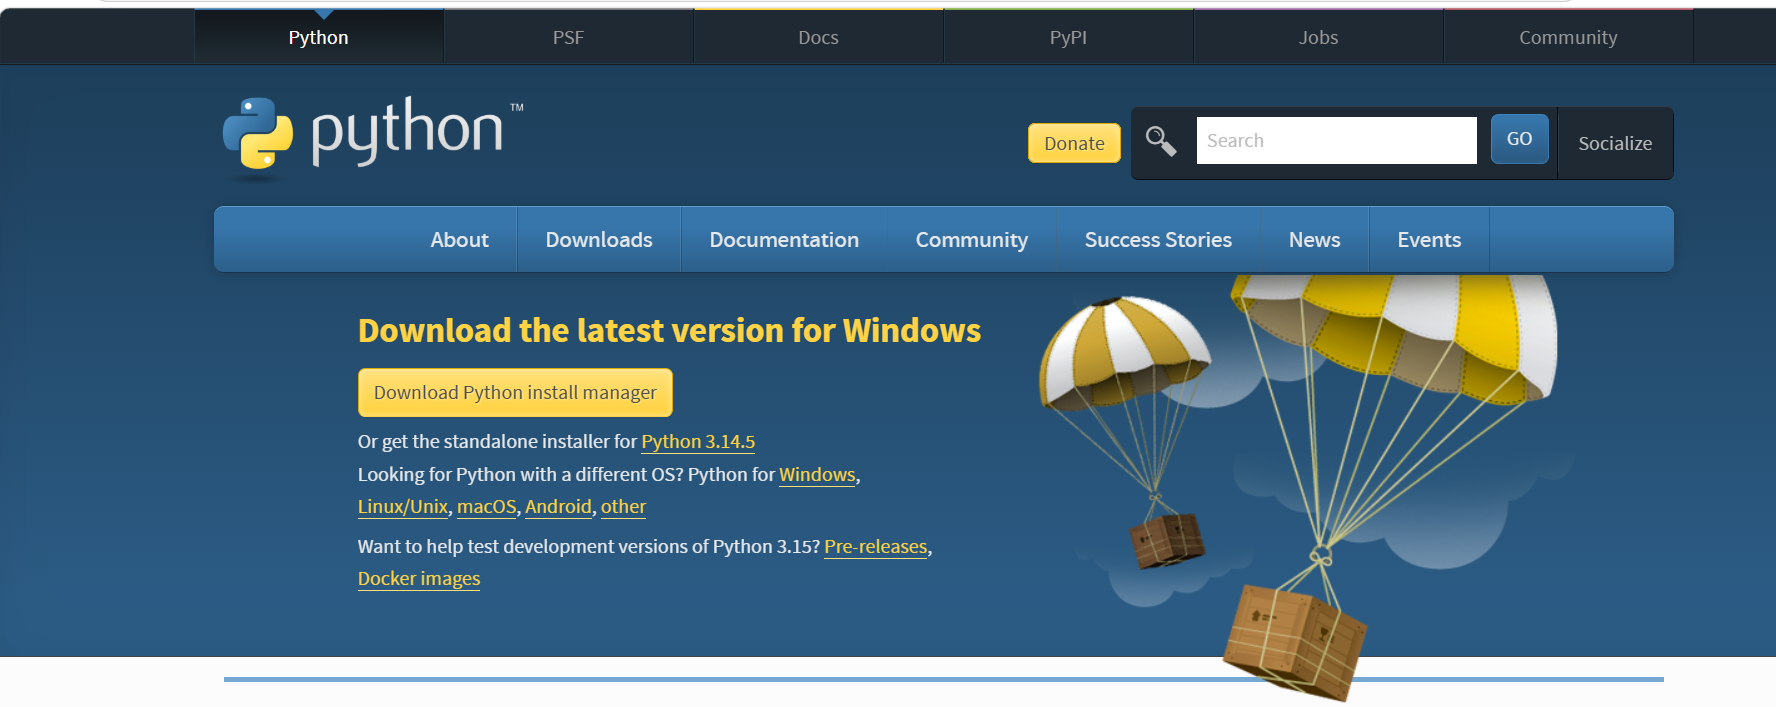
The download used here is the Python Install Manager package. This installs the py command, which can then download and manage Python runtimes for you.
2. Install Python Install Manager
Open the downloaded Python Manager installer.
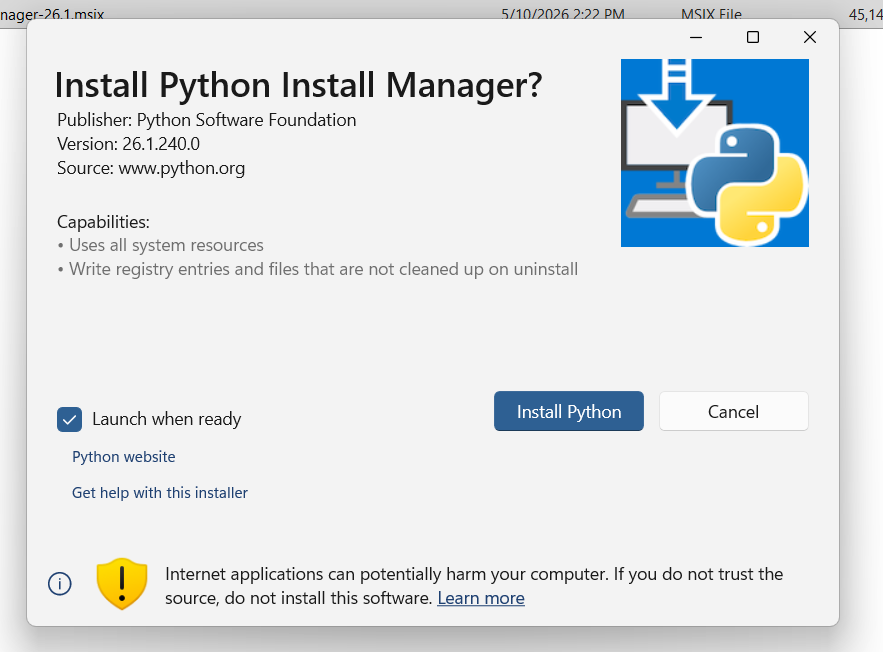
Leave Launch when ready selected if you want Python Manager to open after installation, then select Install Python.
3. Let Python Manager configure the system
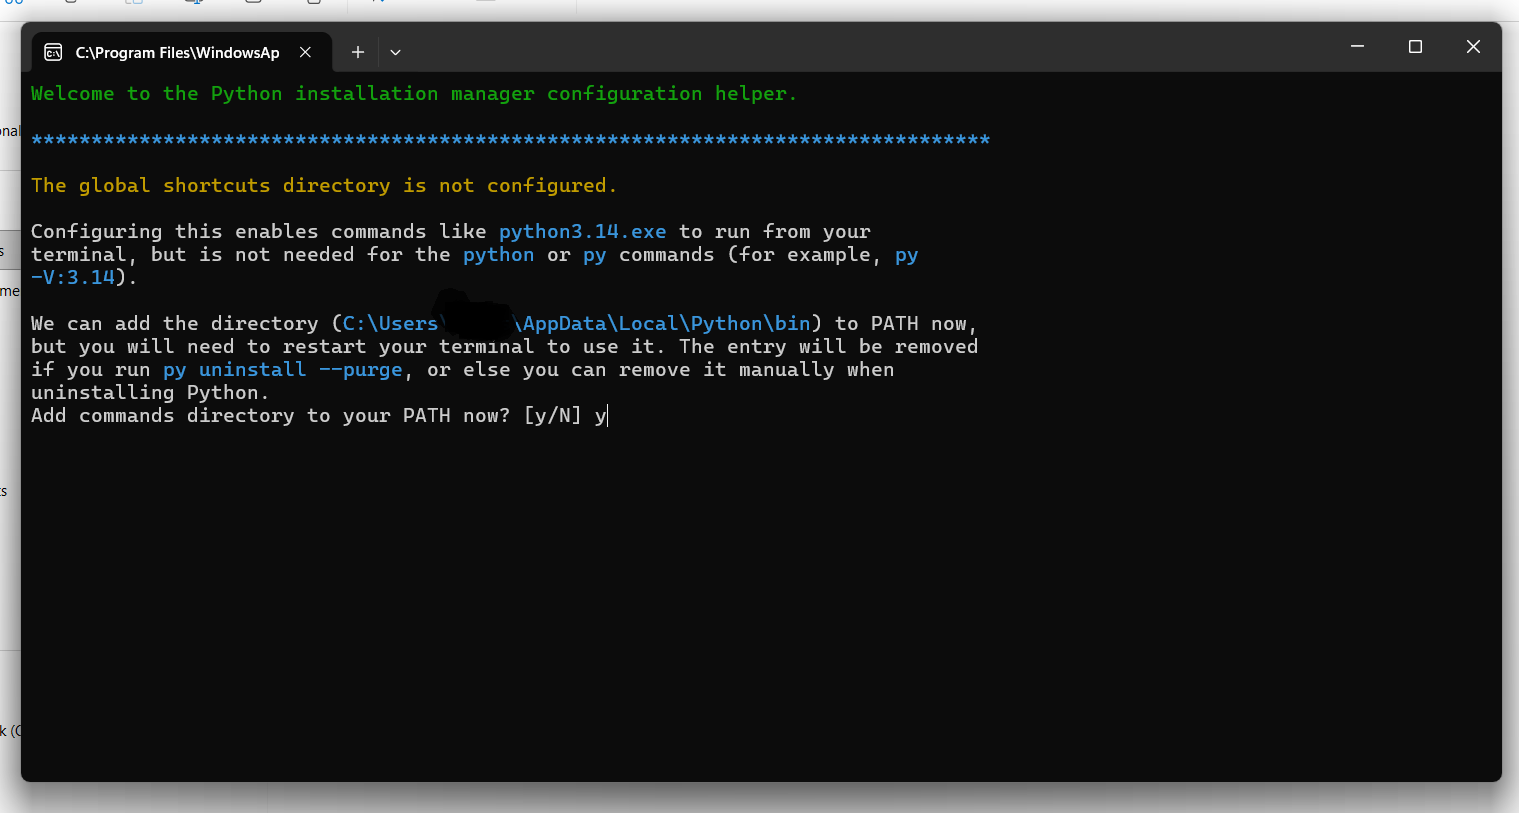
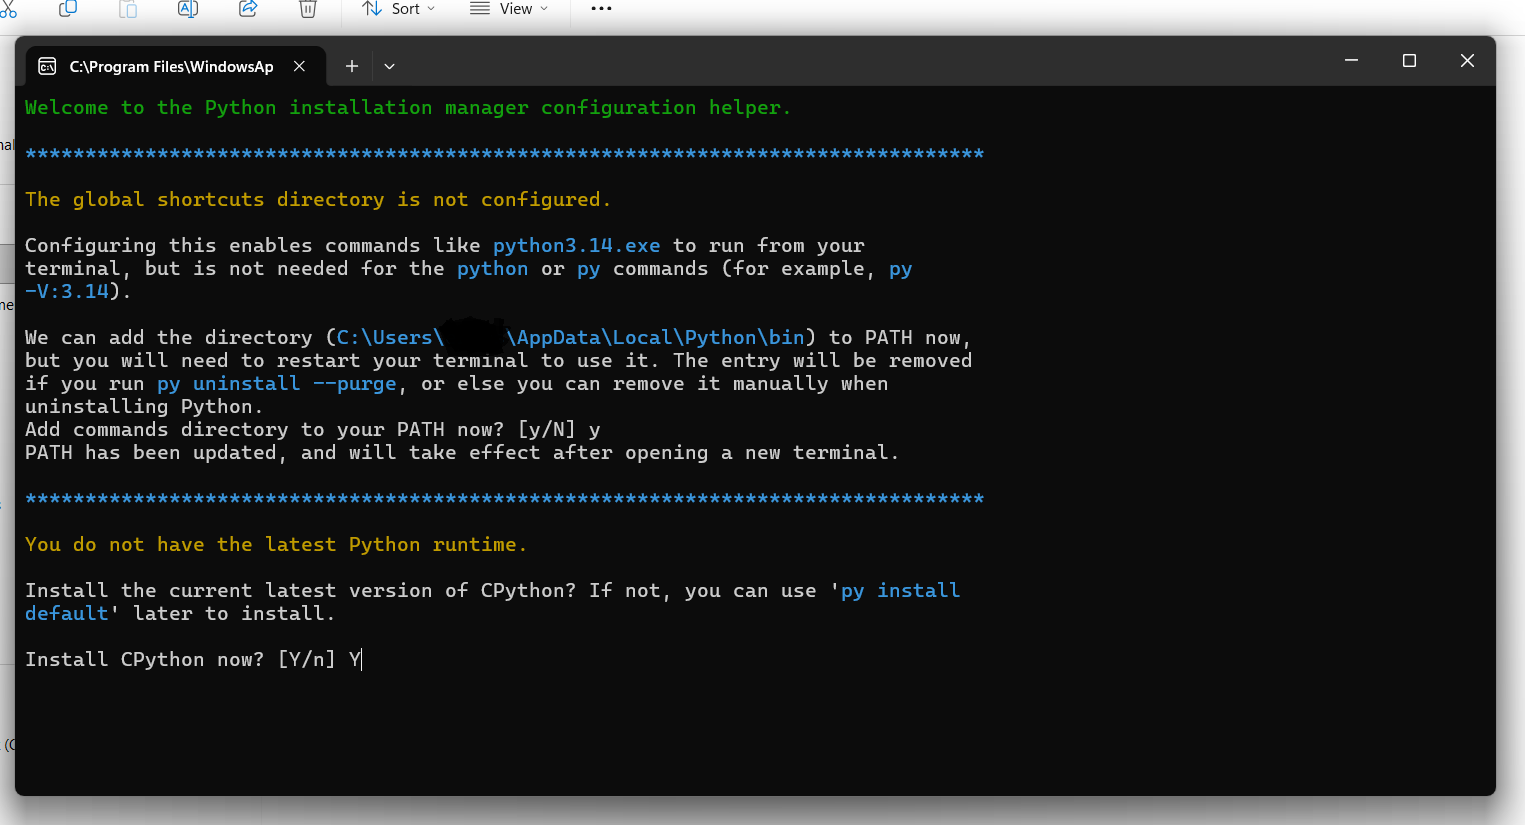
After the installer runs, Python Manager opens in a terminal window. It may report that the global commands directory is not configured yet.
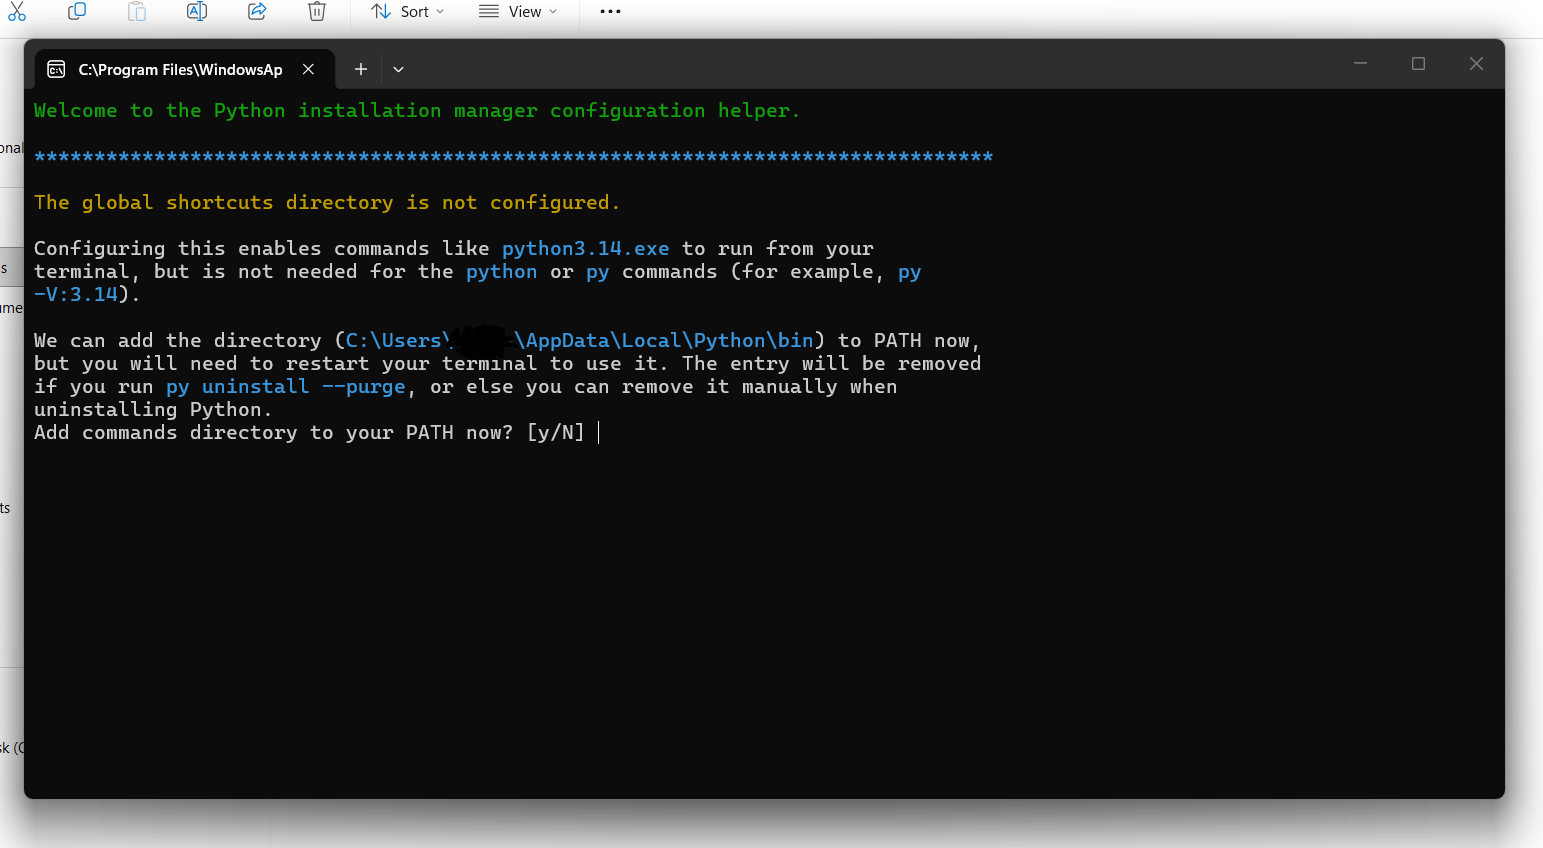
If Python Manager asks to add its command directory to PATH, allow it. This is what makes commands like py available from normal terminals.
You may see a message explaining that configuration changed and the terminal needs to be restarted before the new setting is available.
Close and reopen the terminal when prompted so Windows can load the updated environment variables.
4. Install the latest Python runtime
In the Python Manager terminal, install Python by running:
py install
When Python Manager asks whether to install CPython, type y and press Enter.
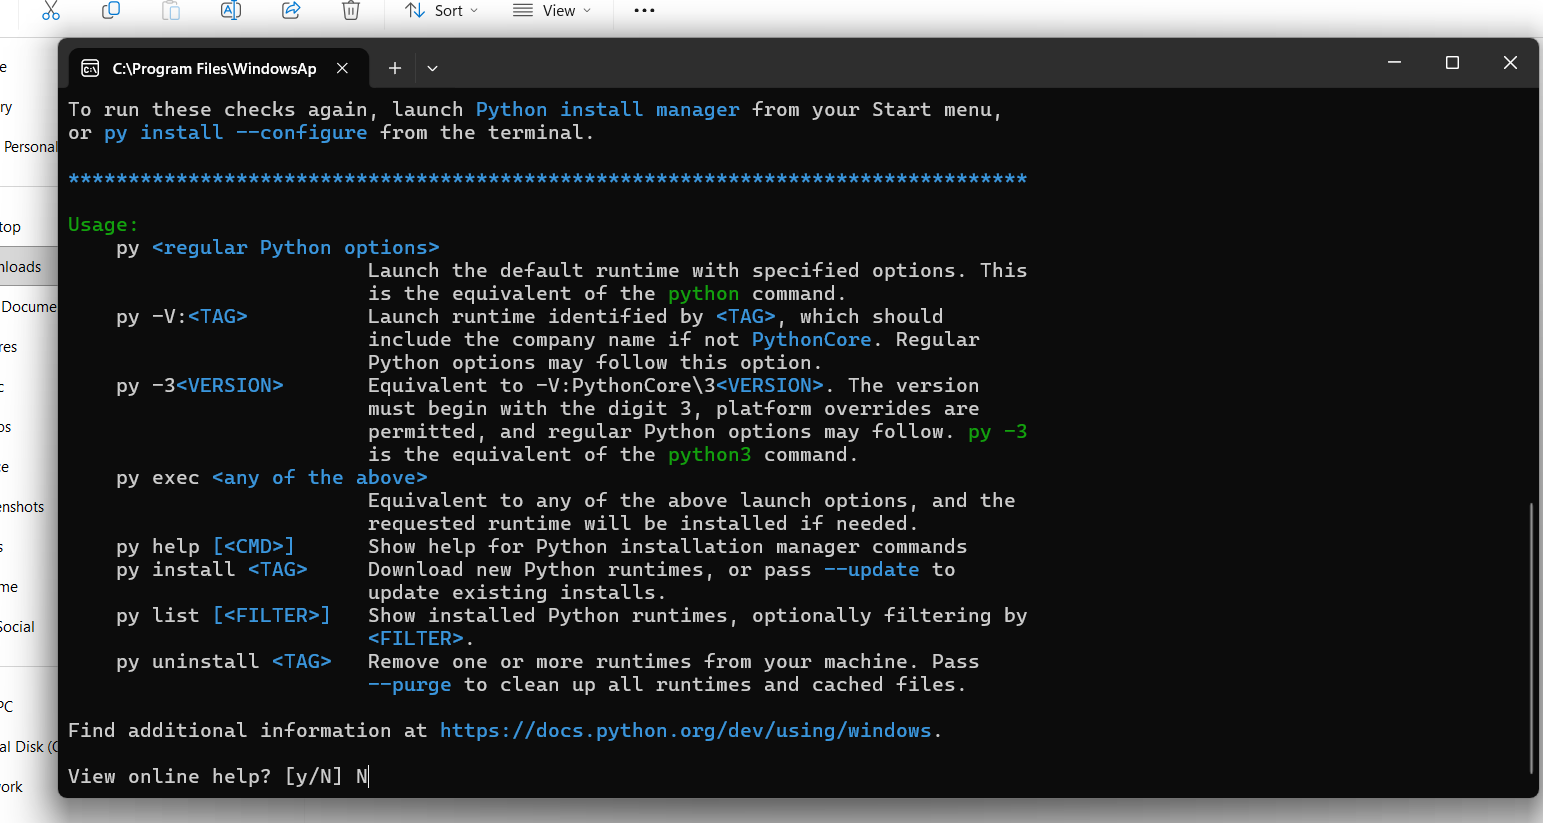
CPython is the standard Python runtime most people mean when they say “Python.” After it installs, Python Manager can show installed runtimes and available commands.
5. Download Visual Studio Code
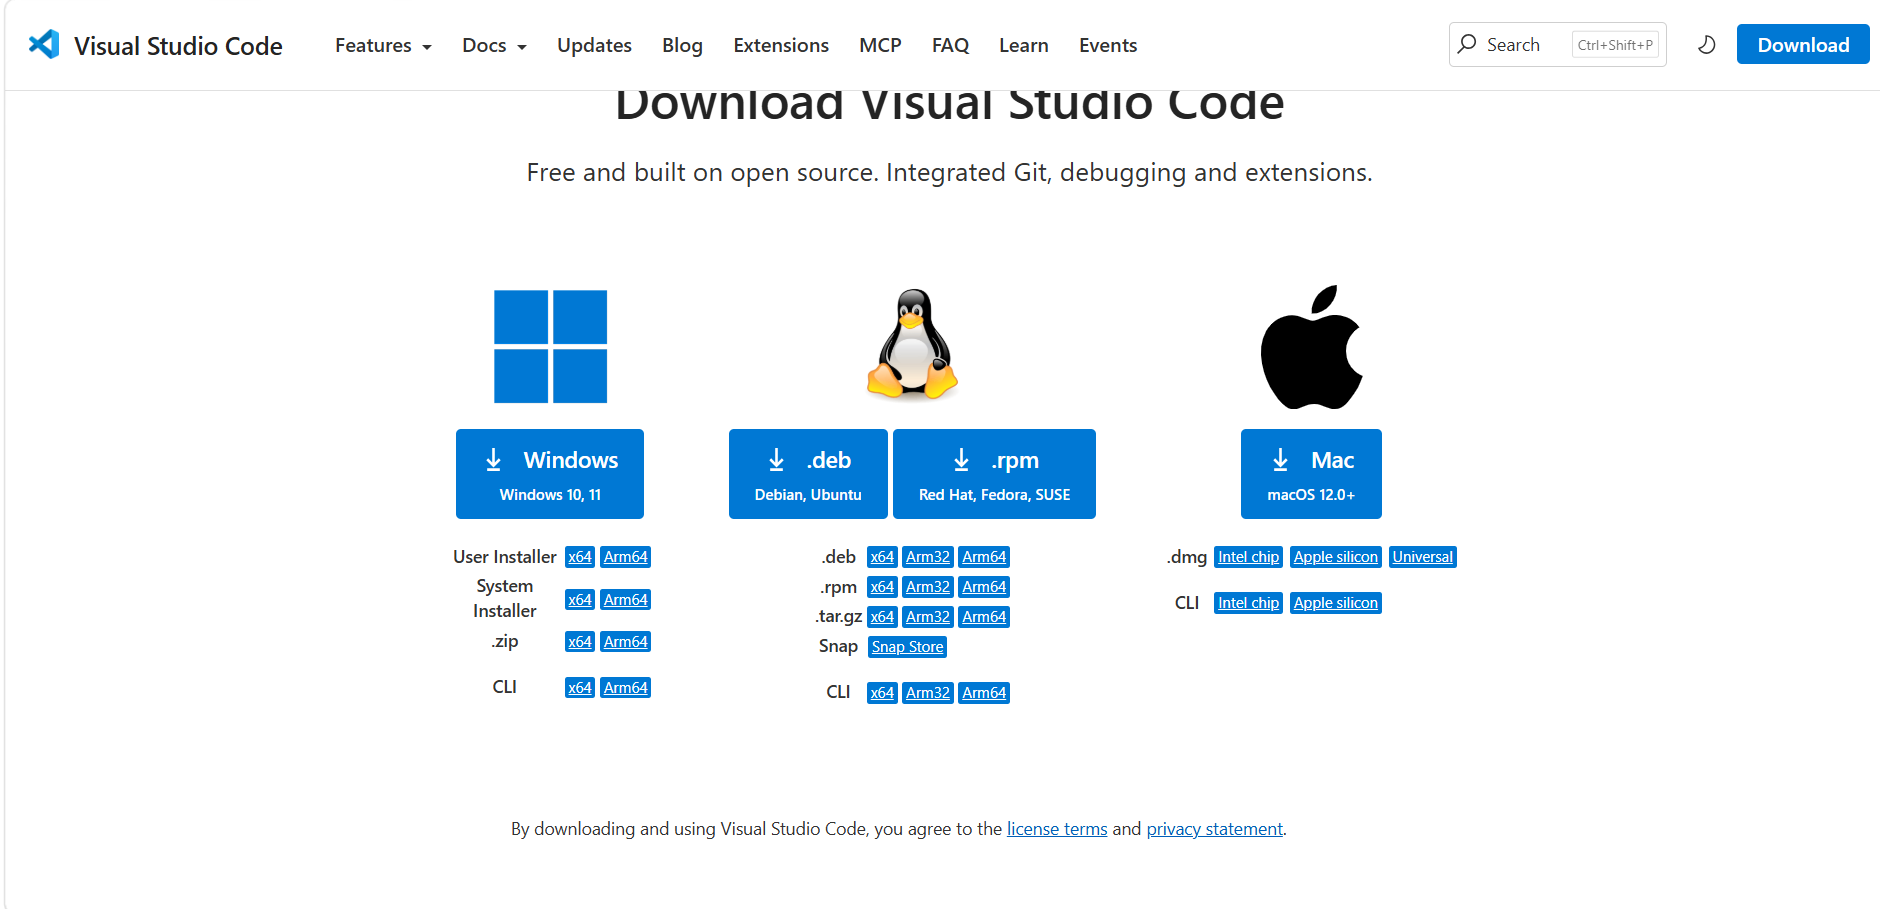
Next, install a code editor. Go to the Visual Studio Code website and download the Windows installer.
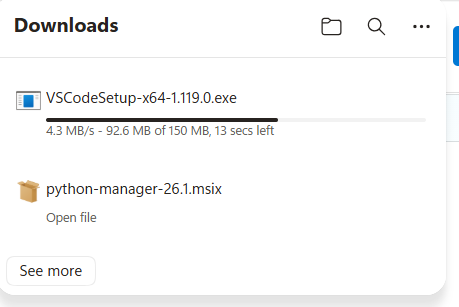
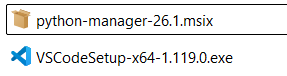
The downloads folder now contains both installers: the Python Manager package and the VS Code installer.
6. Run the VS Code installer
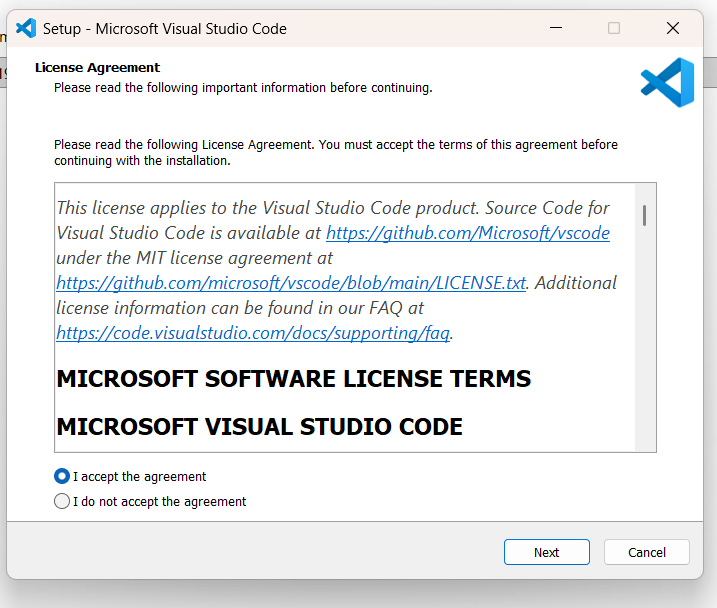
Open the Visual Studio Code installer. On the license agreement screen, choose I accept the agreement, then select Next.
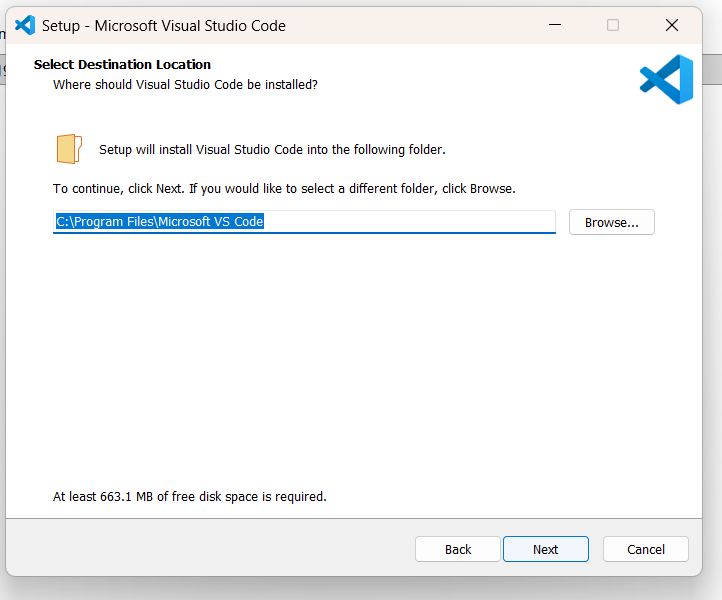
Choose the install location. The default location is fine for most systems.
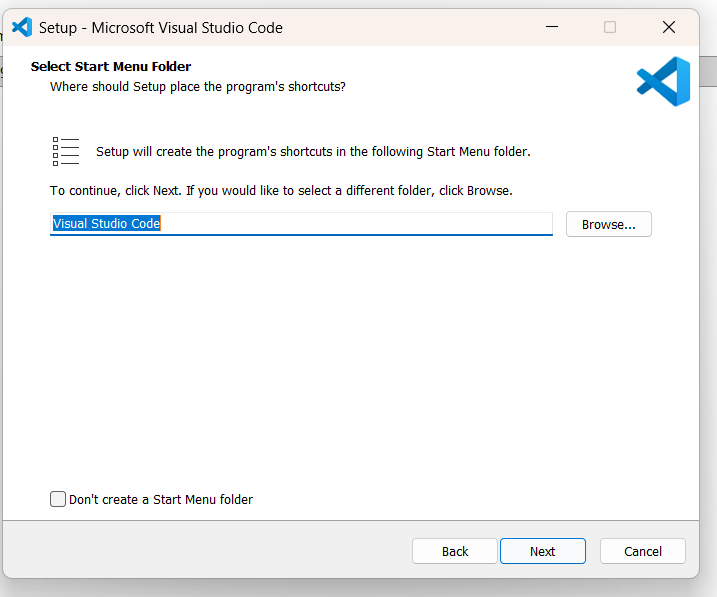
Choose the Start Menu folder. Again, the default is usually fine.
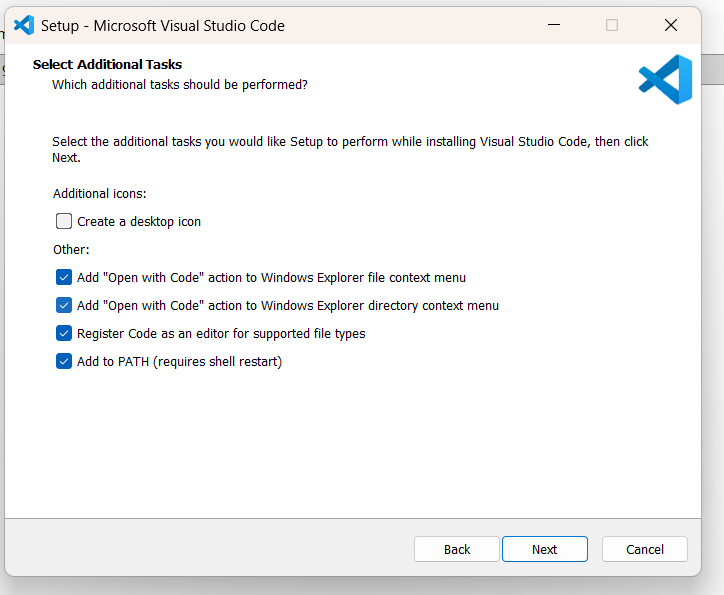
On the additional tasks screen, enable the useful Explorer and PATH options:
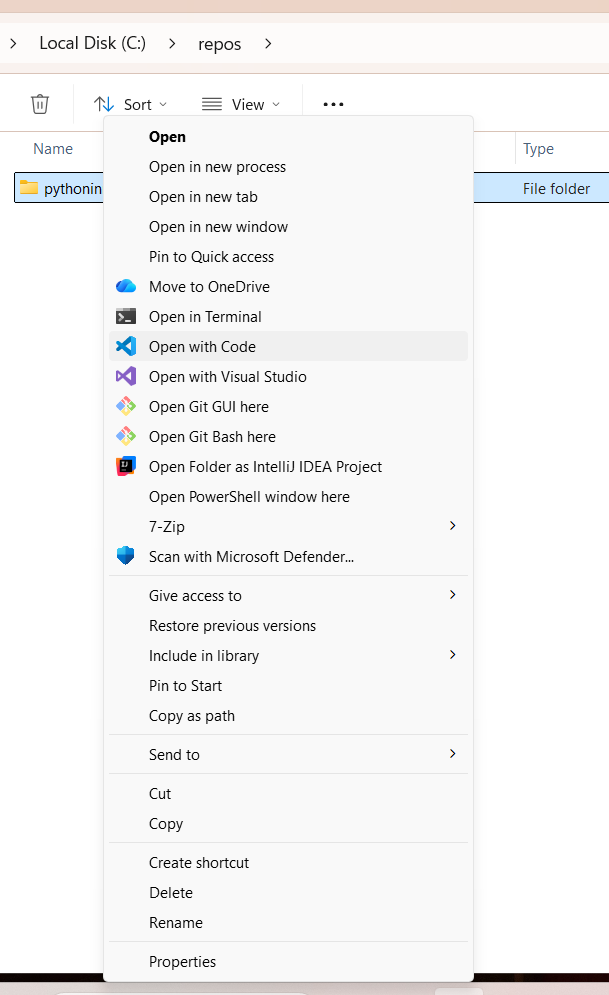
- Add “Open with Code” action to Windows Explorer file context menu
- Add “Open with Code” action to Windows Explorer directory context menu
- Register Code as an editor for supported file types
- Add to PATH
Review the setup summary, then select Install.
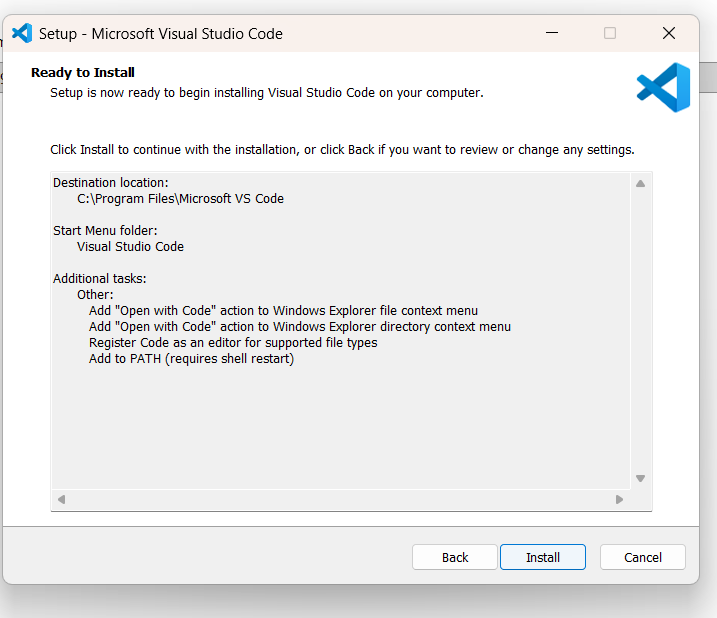
Wait for the installer to finish copying files.

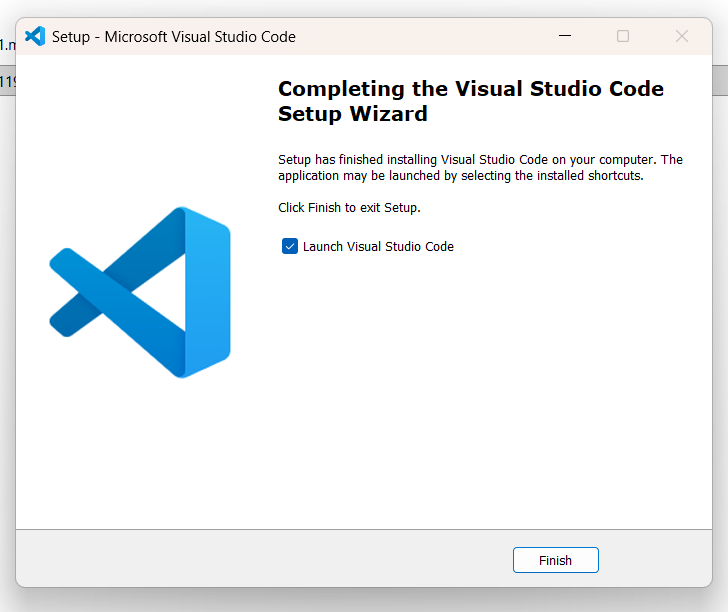
When setup completes, leave Launch Visual Studio Code selected and select Finish.
7. Start Visual Studio Code
When VS Code opens for the first time, it may offer account sign-in or sync setup.
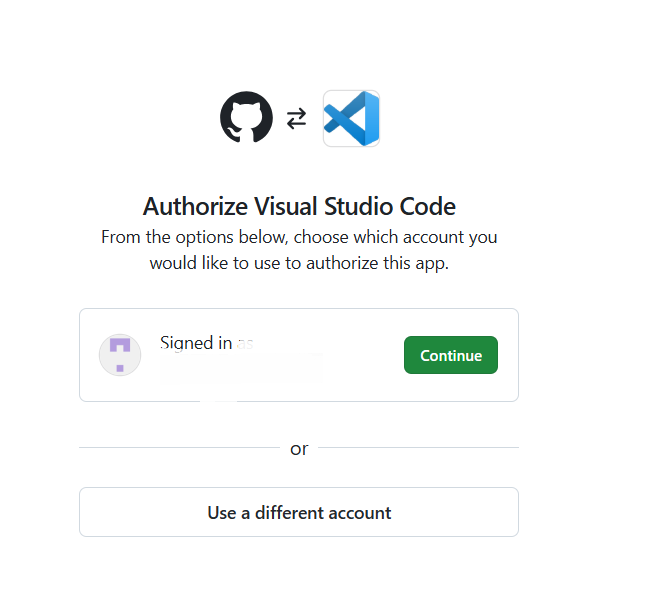
Signing in is optional. You can continue without sign-in if you only want to write and run local Python files.
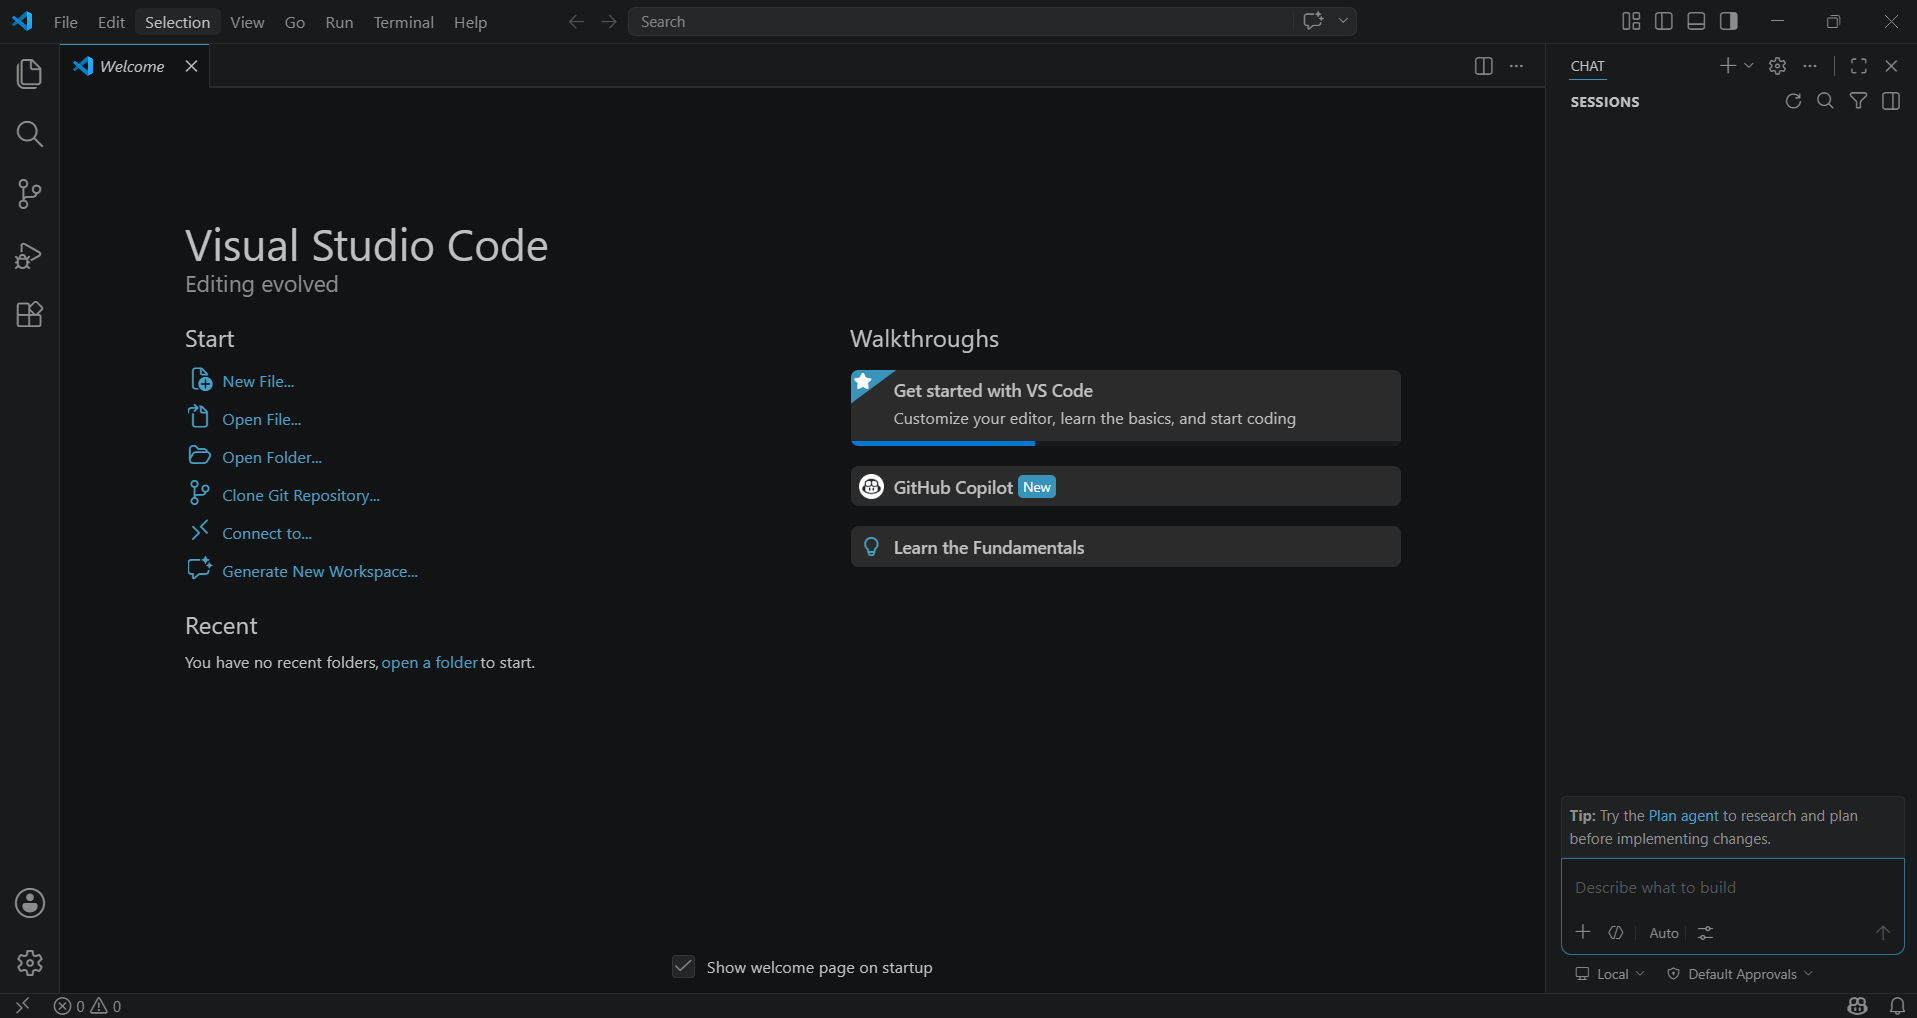
After that, VS Code opens to its welcome screen.
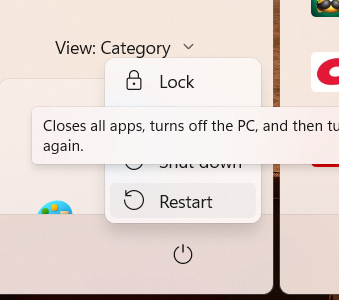
8. Restart Windows after PATH changes
Because both Python Manager and VS Code update command-line settings, restart Windows before continuing. This helps make sure new PATH entries are available everywhere.
After the restart, commands like py and code should be easier for Windows to find.
9. Optional: Run VS Code as administrator
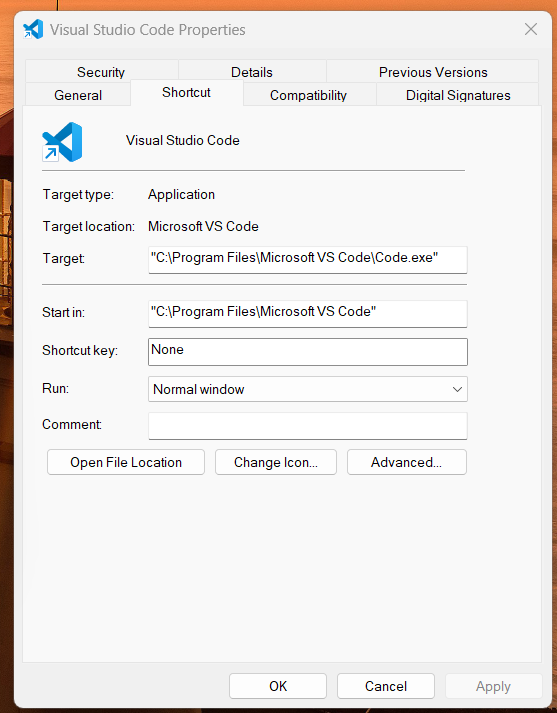
If you want VS Code to open with administrator permissions, adjust the shortcut settings. Right-click the Visual Studio Code shortcut, open Properties, then select Advanced.
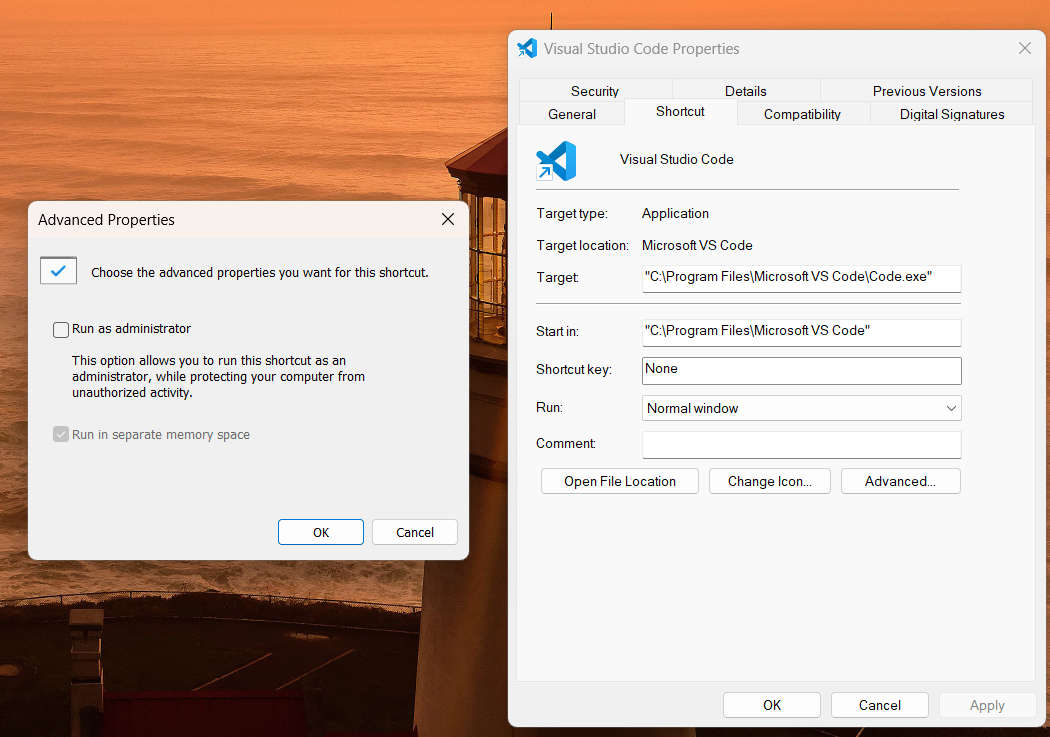
In the Advanced Properties window, select Run as administrator, then choose OK.

This step is optional. For regular Python projects, VS Code does not usually need administrator permissions. Use it only when your workflow requires elevated access.
10. Create a Python project folder
Open File Explorer and create a folder for your Python work. In this example, the folder is:
C:\repos\pythonintro

Inside that folder, create a new Python file named:
intro.py
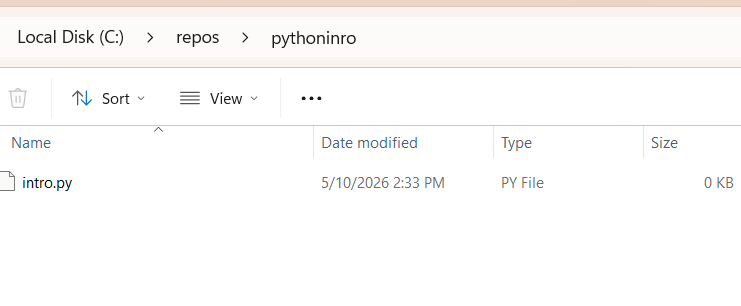
You can create the file from the Explorer context menu.
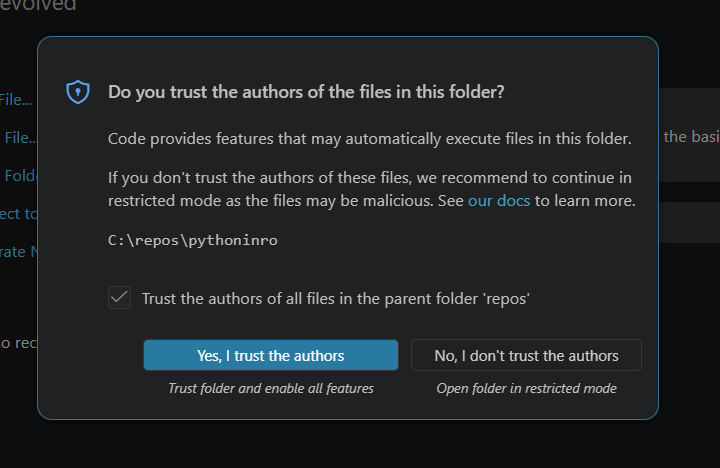
11. Open the folder in VS Code
Open Visual Studio Code and choose Open Folder.
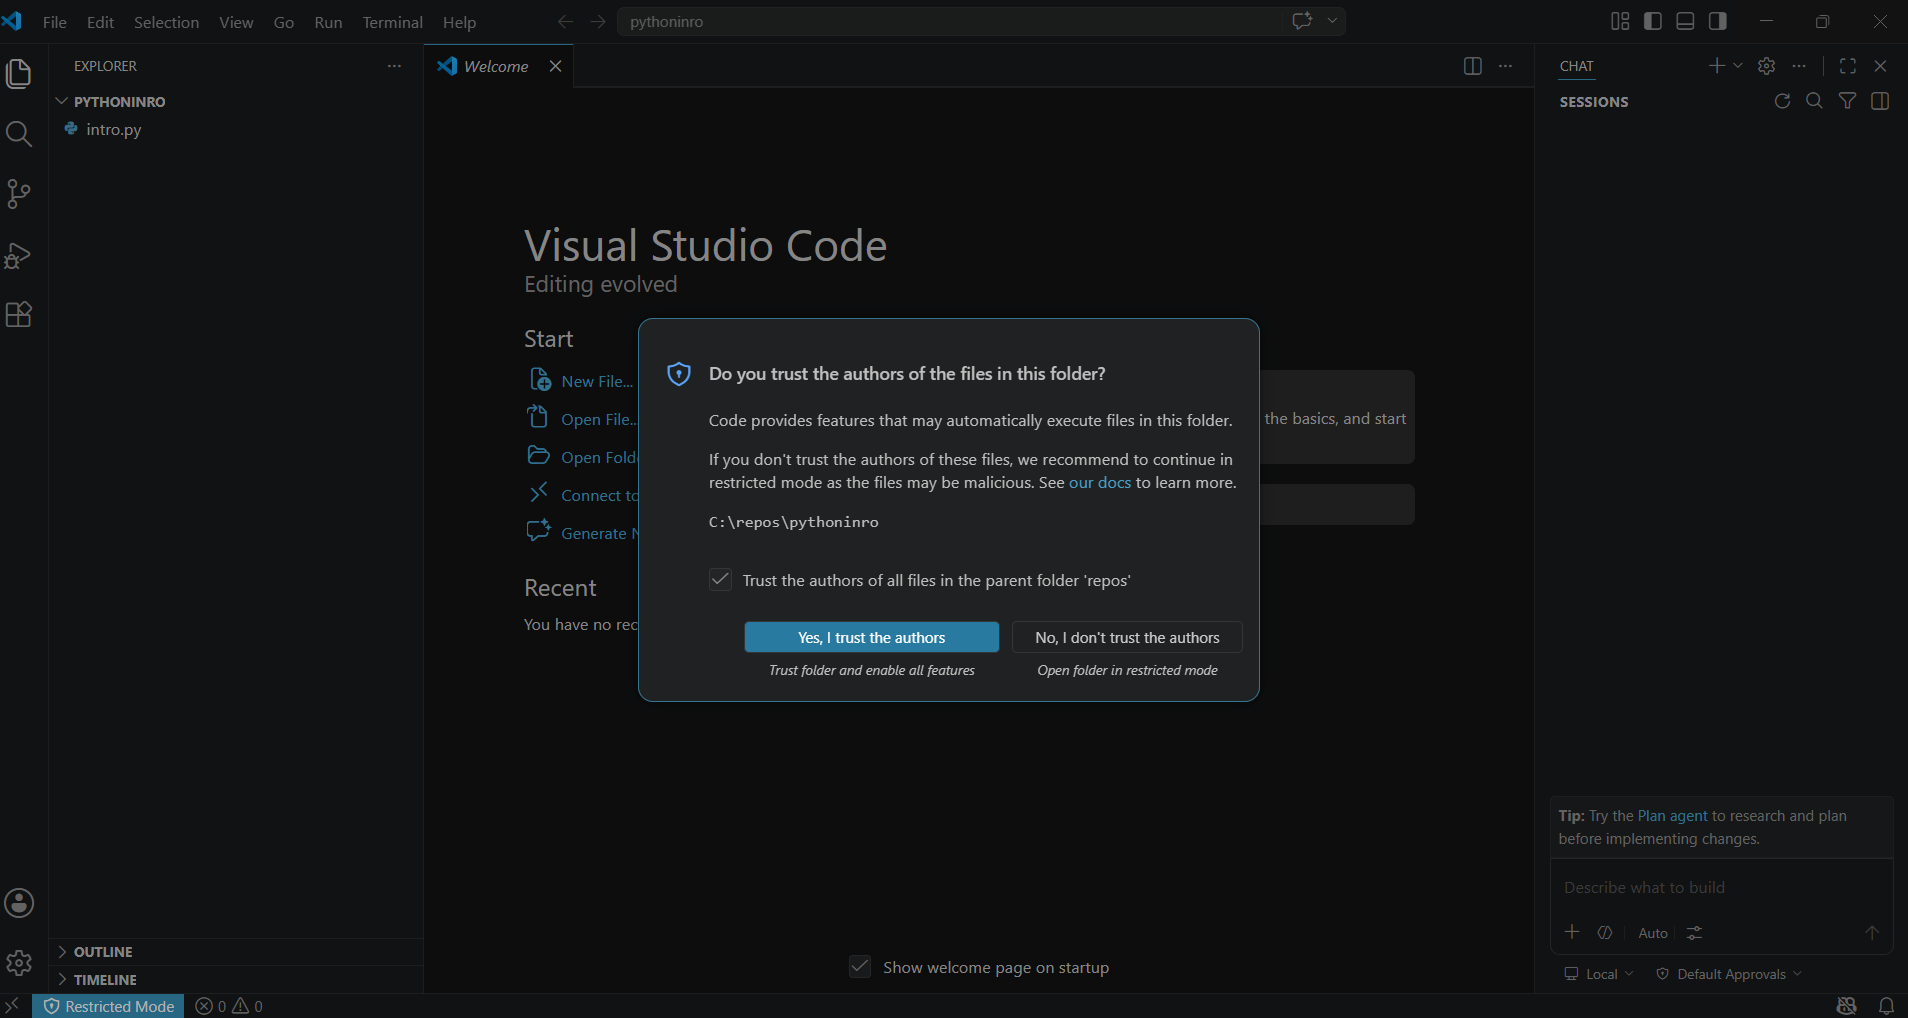
When VS Code asks whether you trust the authors of the files in the folder, choose Yes, I trust the authors for folders you created yourself.
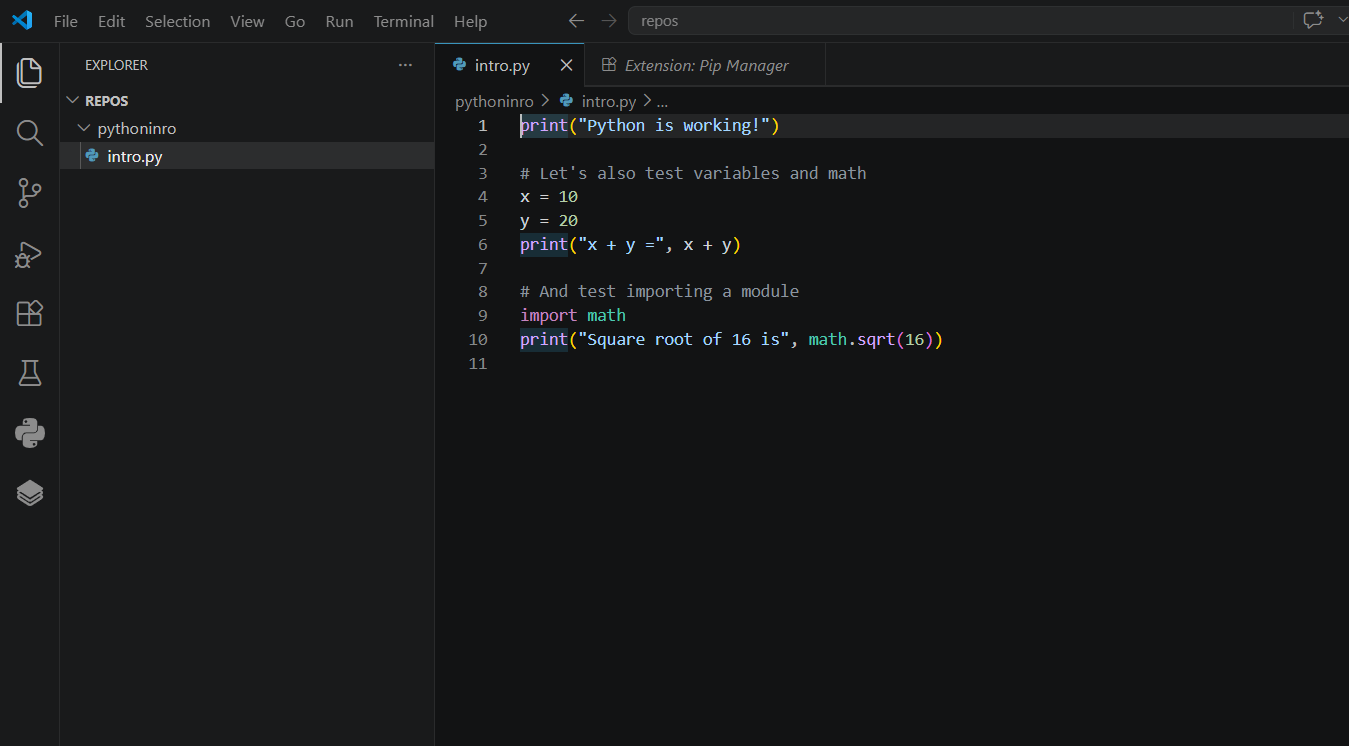
VS Code then opens the folder and shows intro.py in the Explorer.
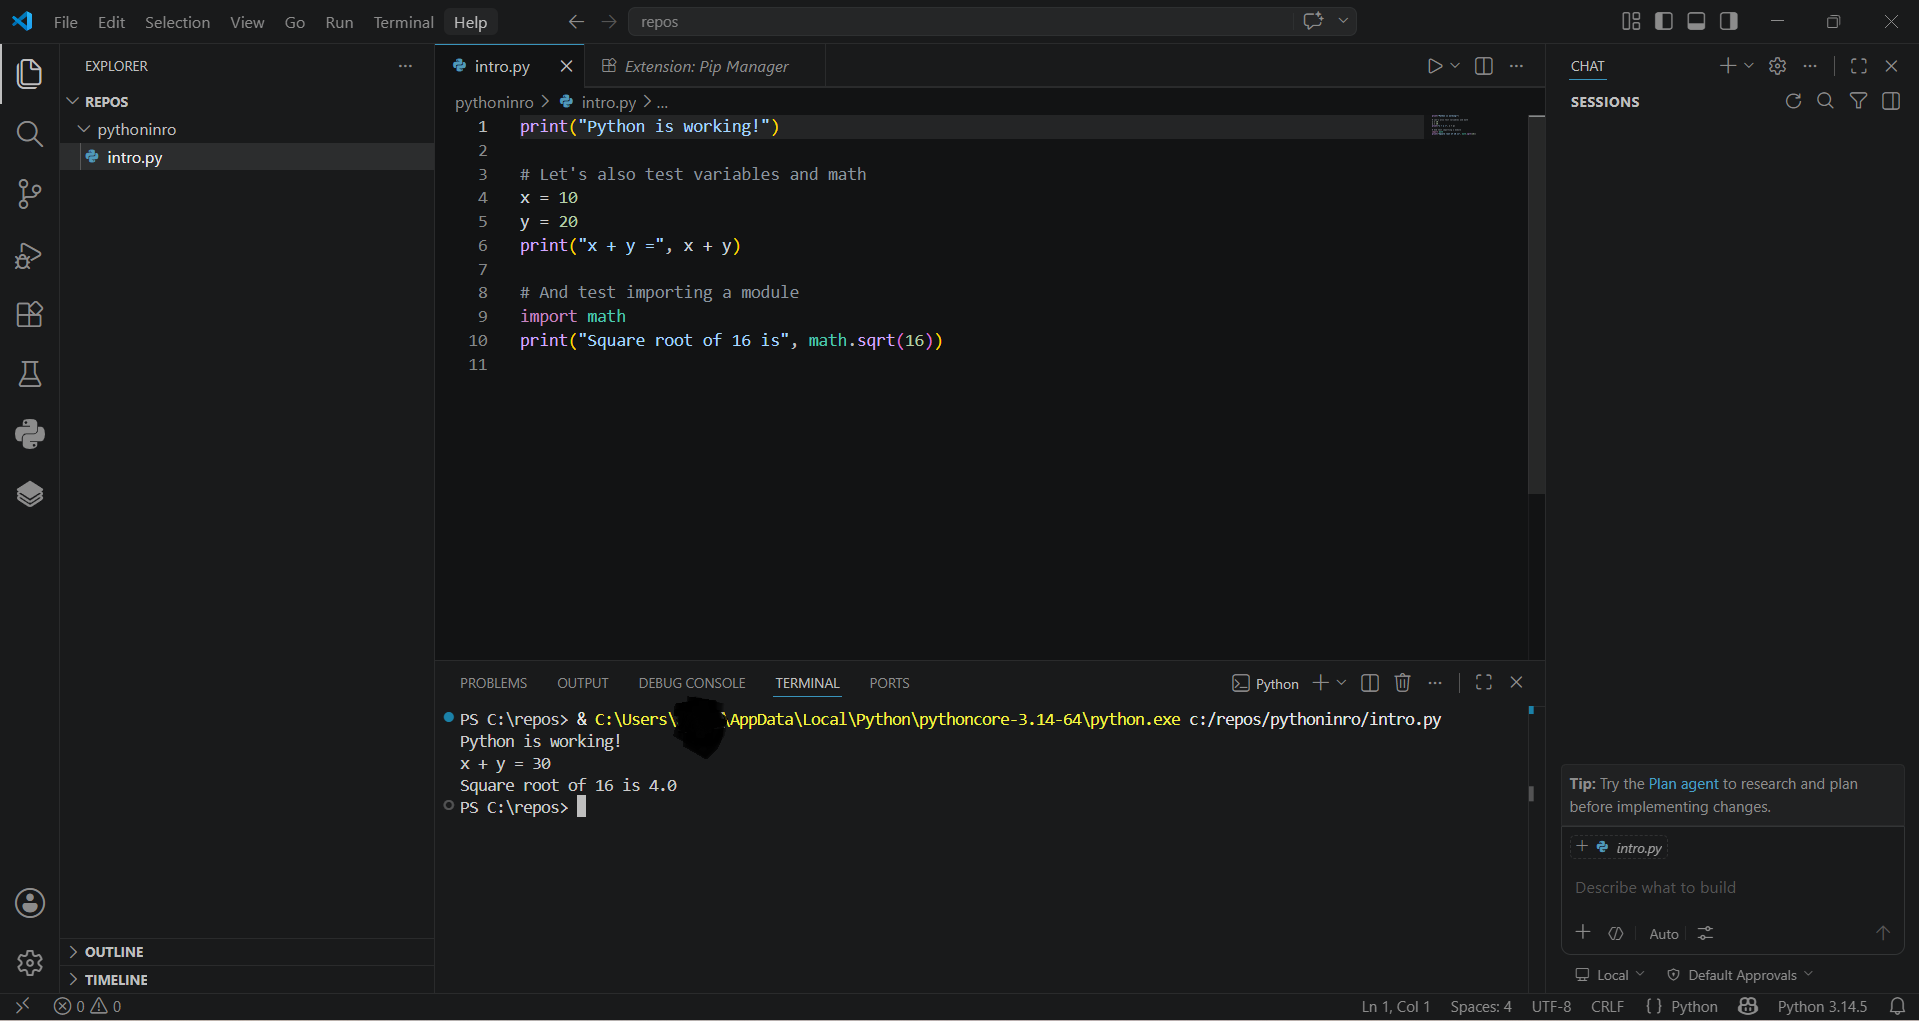
12. Write a first Python script
Open intro.py and add a small test script:
print("Python is working!")

# Let's also test variables and math
x = 10
y = 20
print("x + y =", x + y)

# And test importing a module
import math
print("Square root of 16 is", math.sqrt(16))
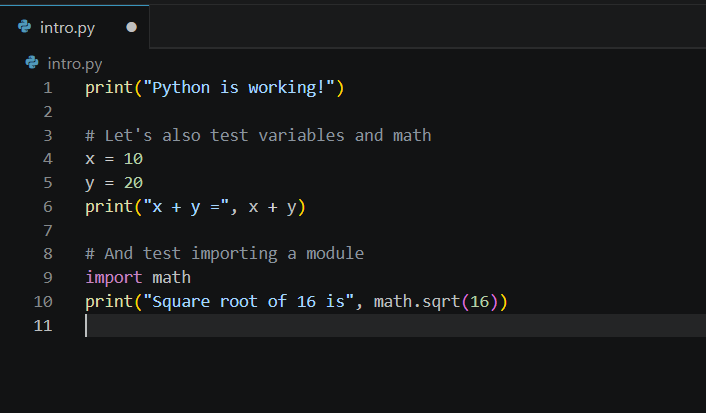
This script checks three important pieces:
- Python can run a file.
- Variables and arithmetic work.
- The standard library can be imported.
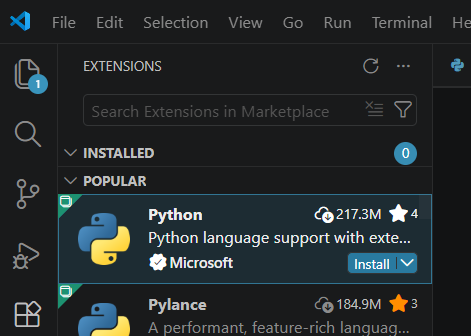
13. Install the Python extension for VS Code
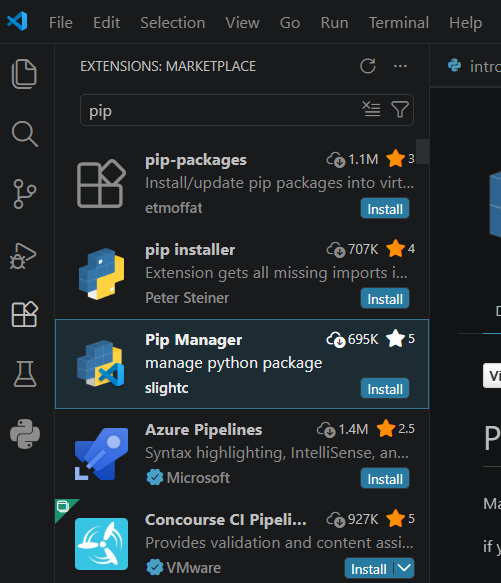
Open the Extensions view in VS Code and search for Python. Install the official Python extension published by Microsoft.
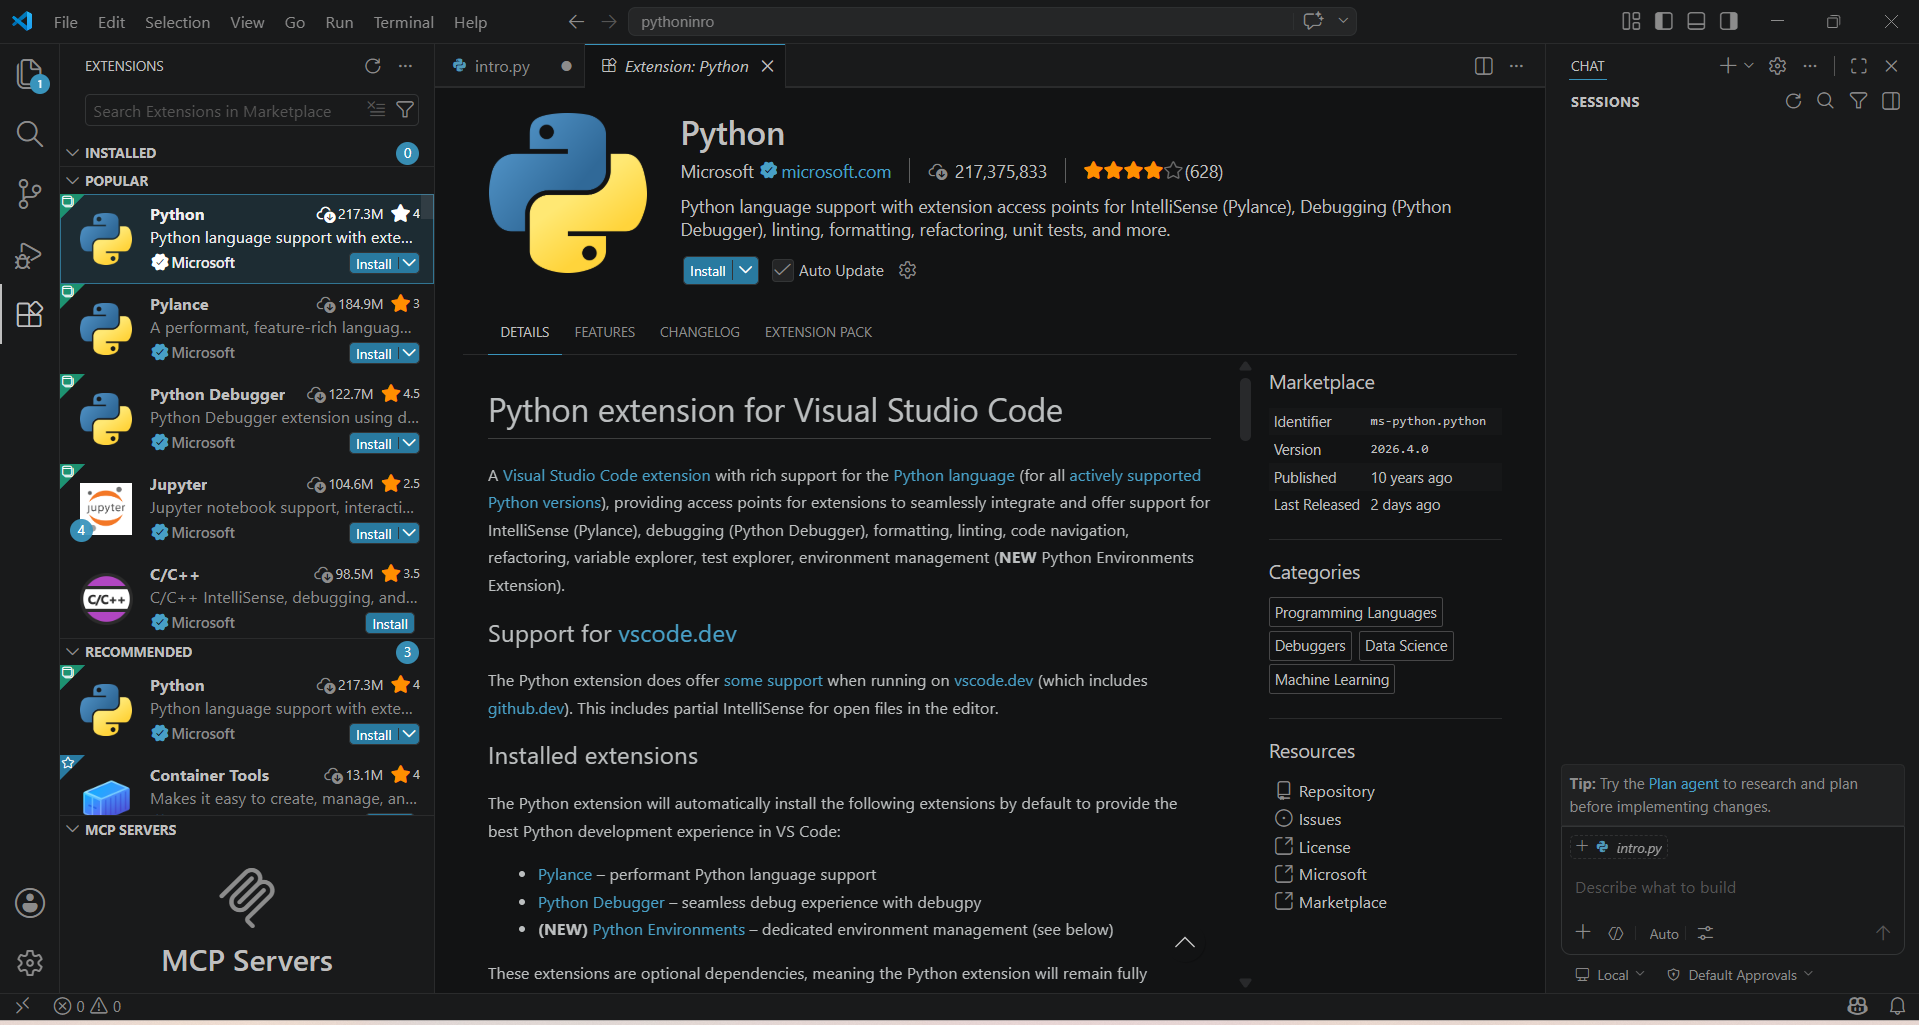
The Python extension gives VS Code language support, interpreter selection, debugging, and run commands for Python files.
14. Open the Python project folder from the extension prompt
VS Code may show a Python welcome panel with an Open Project Folder button. Use it to open the folder where intro.py lives.
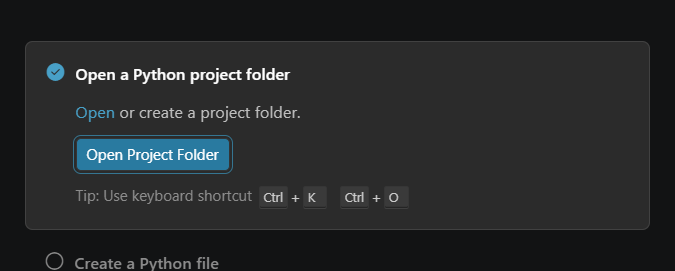
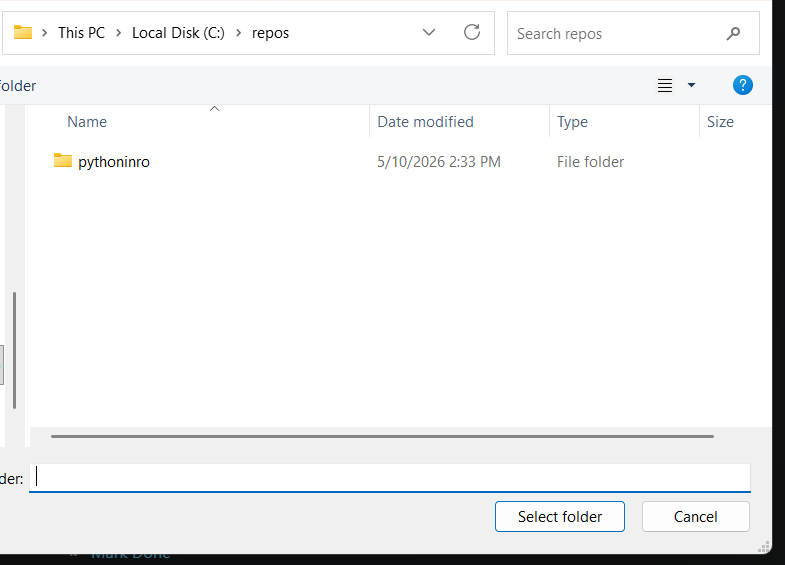
Select the folder you created earlier.
15. Install a package management helper
In the Extensions view, search for Python package tools. This example installs Pip Manager, which gives a visual interface for working with Python packages.
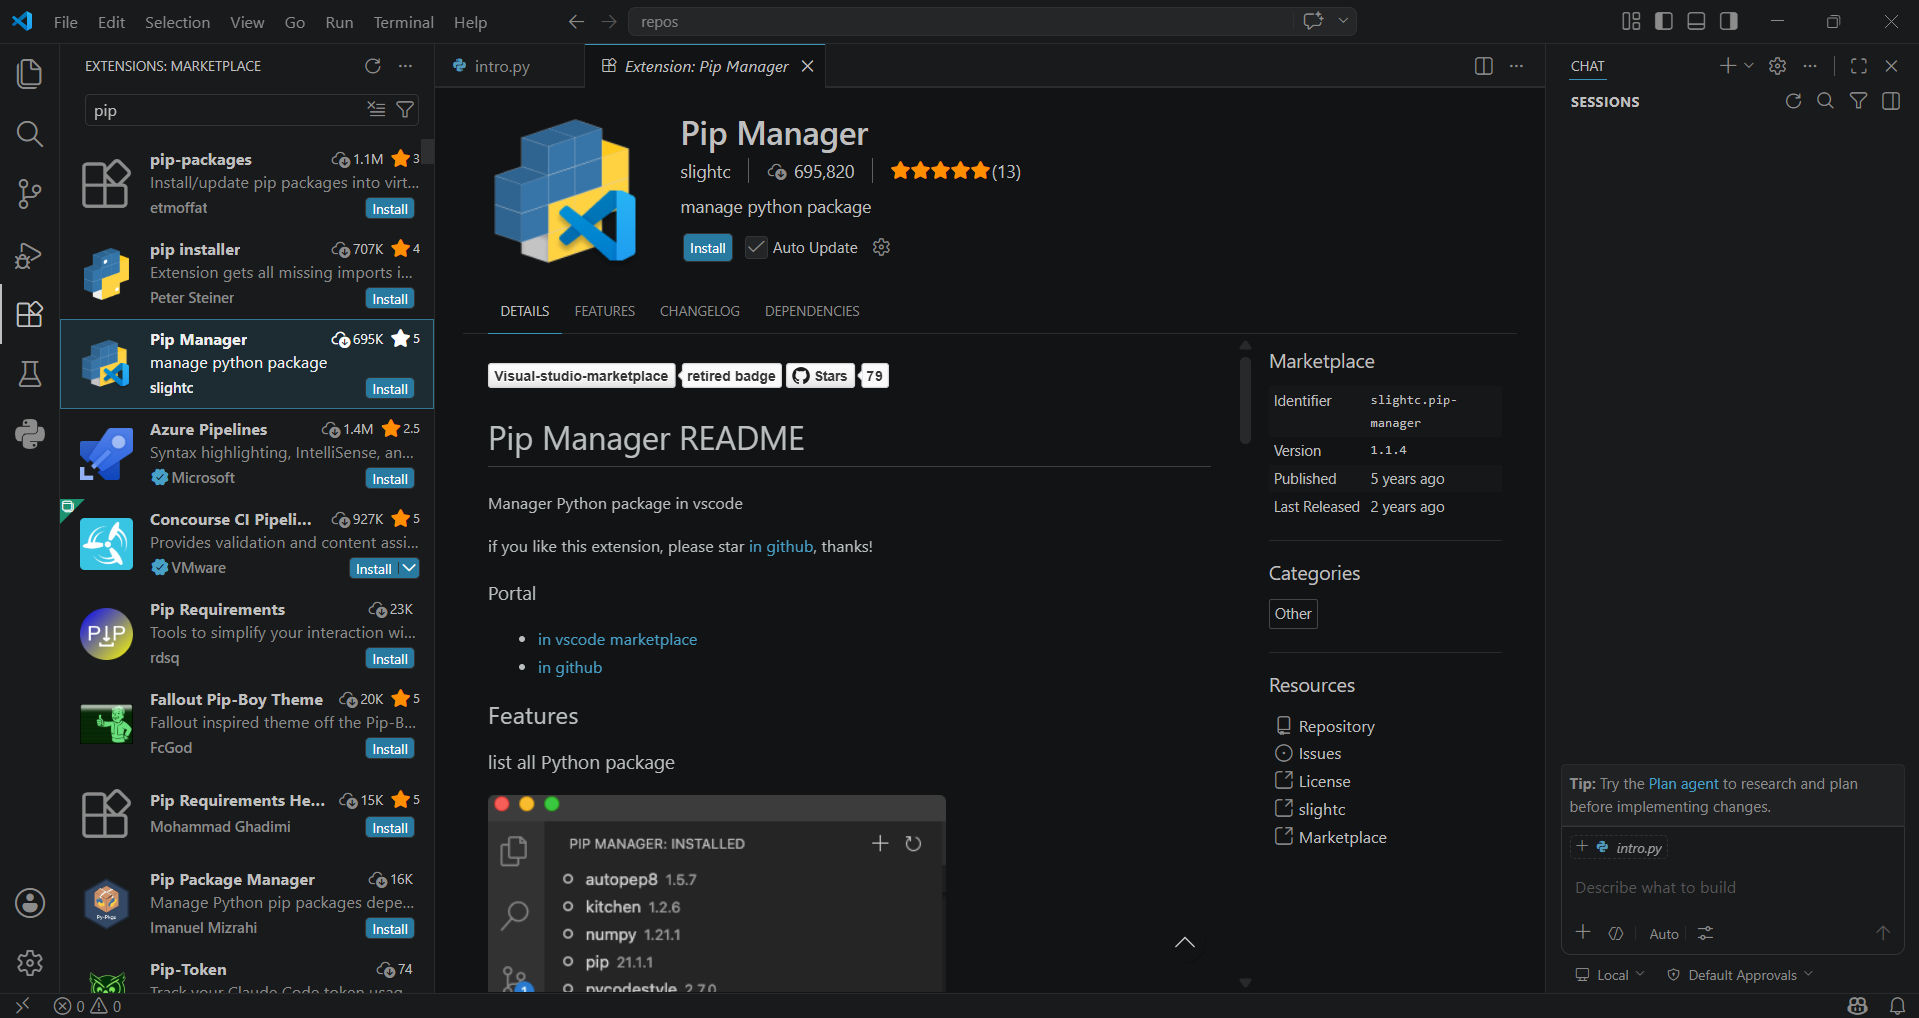
You may also see related package tools in the Extensions list.
This is not required for running Python, but it can make package management easier while learning.
16. Review and run the script
Return to intro.py and make sure the file is saved.
Open the VS Code terminal with Terminal > New Terminal. From the project folder, run:
py intro.py
If your terminal is already pointed at the project directory, this runs the script directly.

The output should look like this:
Python is working!
x + y = 30
Square root of 16 is 4.0
17. Confirm Python runs from the command line
The final screenshot shows the script running successfully through the Python launcher. This confirms that Windows can find Python and that the project file runs correctly.
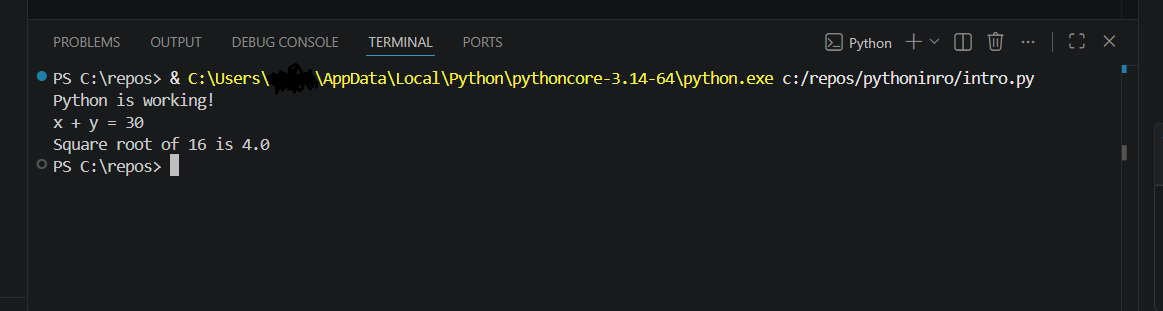
At this point, Python is installed, Visual Studio Code is installed, the Python extension is active, and a first script runs successfully.
Common checks if something does not work
If py intro.py does not run, try these checks:
- Restart Windows so the updated
PATHsettings are loaded. - Open a new VS Code terminal after installing Python.
- Run
py --listto see which Python versions are installed. - Run
py installagain if no Python runtime appears. - Confirm the terminal is inside the folder that contains
intro.py. - Confirm the file is named
intro.py, notintro.py.txt.
Once those checks pass, the system is ready for Python development.
Comments
Questions, corrections, and notes are welcome here.